Common Mistakes When Planting Bare-Root Fruit Trees (and How to Avoid Them)
Bare-root fruit trees arrive looking like something between a walking stick and a bundle of twigs, and that is the point: no soil, no pot, nothing between the roots and the air. It is the cheapest and often the best way to buy apple, pear, plum and cherry trees, and it leaves the smallest margin for error. Most of what goes wrong with a new tree happens in the first hour after the bundle is opened, not in the years that follow. The mistakes are few and well known, which means they are easy to avoid.
Timing and handling: dormancy is a deadline, not a suggestion
Bare-root trees are sold dormant, and that window matters. Plant them from late autumn to early spring while the tree is still asleep, ideally into soil that is workable but not waterlogged. A tree that arrives in December and sits in its packaging until March has spent weeks burning reserves it cannot replace. If the ground is frozen or sodden, heel it in temporarily rather than forcing it into a cold, sticky hole.
Unpack on arrival, even if planting has to wait. Check the roots and the trunk, note any damage, and keep the bundle in shade. A bundle left in the back of a warm car for an afternoon is the sort of small delay that turns a bargain tree into a replacement tree.
Roots are alive, and they dry out fast
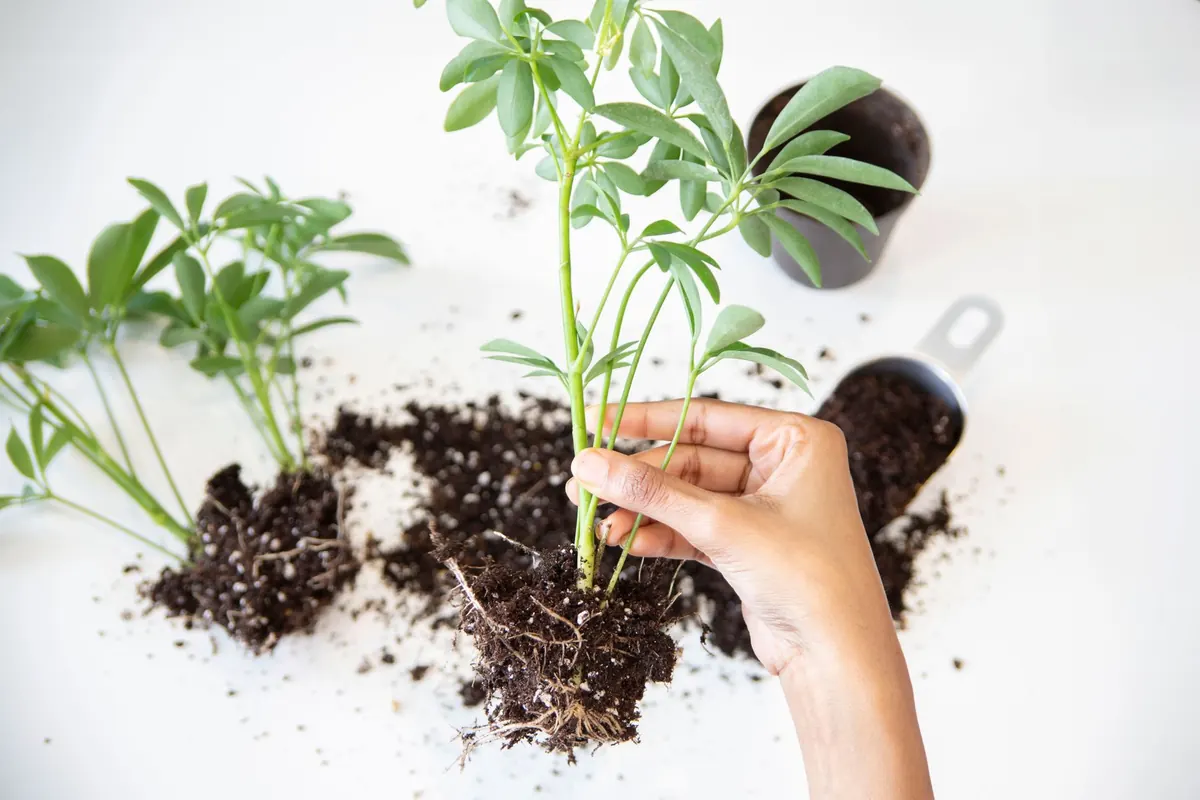
A bare-root tree has lost most of the fine, hair-like roots that do the drinking. What is left is a framework, and it is more fragile than it looks. Ten minutes on a sunny driveway with a breeze is enough to dry the remaining feeder roots and set the tree back a full season. Treat them like cut flowers: shade, moisture, no delay.
Open the bundle as soon as it arrives, even if you cannot plant that day. Cut off clean breaks and mushy sections with sharp secateurs, and trim ragged ends back to sound tissue. Healthy roots should feel firm and smell earthy, not sour. Then stand the tree in a bucket of water for two to six hours. Soaking overnight, or for days, is a common overcorrection; roots need air as much as water, and long soaking softens them.
If planting has to wait a week or two, heel the tree in: dig a shallow trench in a sheltered spot, lay the roots along it, cover them and the lower trunk with soil, and water well. Keep the graft union above ground. This buys time without costing you the tree.
Planting depth: a few centimetres decide the tree's future
If there is one mistake worth losing sleep over, it is planting too deep. A fruit tree sunk even ten centimetres below its proper level will sulk for years: roots suffocate, the trunk stays loose, and the scion may throw suckers from below. The tree usually survives, which is what makes the error so insidious. It simply never thrives.
Ignore the soil mark on the trunk. It tells you where the tree grew in the nursery, not where it should grow in your garden. Look for the graft union instead — the knobbly, slightly crooked joint where the fruiting variety meets the rootstock — and finish with that joint five to ten centimetres above the final soil level. Plant a little higher than feels right. Soil settles, and a tree that looked perfect on planting day is often an inch or two low by spring. After the first watering, check the union again; if it has sunk, lift the tree gently and reset it before roots take hold.
The hole: wider is better, deeper is not
Roots spread sideways far more than they go down, so dig a hole two or three times as wide as the root system and no deeper than the roots need. Resting the tree on firm, unamended subsoil is a virtue: it stops the root ball sinking into a soft pocket of compost.
Rough up the sides, especially in clay, where a spade or an auger can leave a glazed surface that roots struggle to push through. Backfill with the soil you took out. Compost earns its place as a mulch on the surface, not mixed into the hole, where a rich pocket encourages roots to circle instead of venturing outward. Skip fertiliser entirely in the first year.
Firm the soil in stages, pressing with the heel of your boot rather than stamping. You are closing air pockets, not building a floor. Stake only if the site is windy or the tree is tall, and use a short stake that lets the trunk move; a rigid one grows a weaker tree. Tie loosely, with a soft strap rather than wire, and check the tie monthly for rubbing.
Watering: the error that shows up in June
Watering mistakes are invisible at planting and obvious by midsummer. The tree given a litre every evening for a month usually ends up worse than the one soaked properly once a week, because shallow watering keeps roots near the surface where they bake. The tree given nothing at all dries out quietly, its leaves small and pale.
Start on planting day with a slow, generous settling water — ten to twenty litres over the root zone, poured in stages so it sinks in rather than running off. Then water deeply and less often: once a week in normal weather, twice in dry spells. Push a trowel into the soil under the mulch before reaching for the hose. Damp at five centimetres is what counts, not a wet surface.
In heavy clay the opposite problem appears. Water sits in the hole, roots drown, and the tree yellows and stalls. If your soil holds water, plant slightly higher on a gentle mound and let drainage do the rest.
- Do mulch a ring around the tree with bark or compost, keeping it clear of the trunk.
- Do not water a little every day; it teaches roots to stay shallow.
- Do not count on rain in the first summer, when the root ball is still small.
- Do not let grass or weeds compete within sixty to ninety centimetres of the trunk.
Pruning at planting: balance, not butchery
A lifted tree has lost roots, and the top growth has to be brought into balance with what remains below ground. That is the whole logic of the planting prune, and it is not an invitation to reduce the tree to a stub.
Remove damaged and crossing branches. Shorten the leader if you are training a central-leader tree, and take back overlong laterals on a feathered tree so the buds break lower down. A single-stemmed whip may need heading at knee-to-waist height to encourage branching. Keep your intended shape in mind — open centre for apples and plums, spindle or central leader for pears. Cherries are best pruned lightly at planting, removing only broken or badly placed wood, because heavy cuts can bleed and leave them open to disease. Do not shorten every branch just to make the tree look tidy; buds are next year's growth, and a over-pruned tree spends its energy replacing what you cut.
A planting-day checklist that prevents most mistakes
- Unpack and inspect the tree on arrival; trim damaged roots and soak for two to six hours.
- Choose a spot with sun and drainage, and clear grass and weeds from a wide circle.
- Dig a hole wider than the roots, but no deeper than the root system needs.
- Set the tree so the graft union sits five to ten centimetres above final soil level.
- Backfill with the original soil, firming in stages to close air pockets.
- Water slowly and generously, then mulch without touching the trunk.
- Prune lightly for balance, stake only if necessary, and check the depth again after settling.
None of these steps is complicated. They simply have to happen in the right order, and on the day the tree arrives rather than the following weekend. Get the roots wet, the depth right, the hole wide and the water deep, and the tree will do the rest.