A newly planted apple tree looks almost too simple: a whip, a few buds, a stake. Then August arrives, the tree throws a dozen shoots in every direction, and by the third season you are standing in front of a dense little thicket wondering where to put the secateurs. That is the moment when young trees are either set up for a long productive life or quietly ruined. Pruning in the first three years is not really about tidying. It is about deciding what the tree will look like at fifteen, when the branches are heavy and the wood has to hold the weight. Get the skeleton right early and every pruning job after that becomes easier.
Choose a shape before you make the first cut
Most garden apple trees are grown as a central leader: one upright trunk carrying three or four main branches, called scaffolds, arranged in a spiral up the stem rather than stacked directly above each other. This gives an open, airy tree that lets light into the middle, dries quickly after rain and stays manageable in height. On very dwarfing rootstocks, or in a small garden, a slimmer spindle form works on the same principle with more, smaller branches.
What matters most is the angle where each scaffold meets the trunk. A branch leaving the trunk at roughly 45 to 60 degrees forms a strong union with a collar of wood to support it. A branch that shoots up almost parallel to the trunk — a narrow crotch — traps bark in the joint and tends to split under a heavy crop. If you have to choose between two branches, always keep the one with the wider angle, even if it is smaller.
Year one: the structural cuts
At planting, while the tree is dormant
Prune at planting whether the tree arrived bare-root or in a pot; the goal is to balance a small root system with the top growth and to start the framework.
- Shorten the leader. Cut the main stem back to about 75–90 cm above ground (a little lower on dwarfing rootstock, closer to 60–70 cm). Make the cut just above a healthy bud, angled slightly away from it.
- Clear the trunk. Remove any shoots arising in the bottom 45–50 cm. These will never be useful scaffolds and only shade the base.
- Select three or four scaffolds from the shoots above that zone, choosing ones that spiral around the trunk and point outward at a wide angle. Shorten each by a third to a half, cutting to an outward-facing bud.
- Leave the rest alone unless a shoot is clearly competing with the leader. A young tree needs leaves to build roots; removing more than about a quarter of the canopy in one go sets it back.
In the first summer, resist the urge to tidy. Walk past with a thumbnail instead: rub out any strong shoot breaking right at the top of the trunk that threatens to become a second leader, and check the tie on the stake. That is the whole job.
Year two: spacing, angles and a second tier
The second winter is where the shape becomes visible. Extend the leader by cutting back last season's growth by about a third to a half, again to a strong bud. That cut encourages buds below it to break and gives you the next set of scaffolds.
Choose two or three more branches, spaced roughly 20–25 cm above the first tier and staggered so they do not sit directly over the branches below. Then deal with everything that got in the way: crossing branches, anything growing back toward the trunk, and any branch with a narrow crotch or included bark at the joint.
This is also the year to start bending. A branch pulled down toward horizontal grows more slowly and begins forming fruiting spurs sooner than one left pointing at the sky. Weights, spreaders cut from timber, or soft ties to a stake all work; do it in early summer while shoots are still pliable.
Year three: from framework to fruiting wood
By the third winter you should have a trunk, two tiers of well-spaced branches and a clear sense of a goblet-shaped crown. The job now shifts from building to refining.
Tip the leader again if you want more height, or stop it once it reaches the height you want to manage from a stepladder. Look for the short, knobbly spurs forming along the older wood — these are the fruiting sites, so leave them alone. Thin out anything that crowds the centre, and lightly shorten the longest scaffolds so they stay in balance with one another.
Keep the total removal under about a quarter of the wood in any one dormant season. And one piece of counterintuitive advice: take the fruit off. Strip blossoms or tiny fruitlets in the second and third year so the tree puts its energy into roots and branches rather than into a handful of apples. A young tree allowed to crop heavily can sit still for years.
The four cuts you will use most
- Heading cut — shortening a shoot to a bud. Stimulates growth below the cut and stiffens the branch.
- Thinning cut — removing a whole branch back at its collar. Removes growth without triggering a burst of new shoots, the cut you want when a branch must go.
- Rub-out — flicking off a green shoot at the trunk in summer. The cheapest cut you will ever make, and the one most people forget.
- Spur-thinning — snipping out tangled clusters on older wood so light and air reach the fruit. Only relevant by the end of year three.
Timing, tools and the small things that matter
Dormant pruning is best done in late winter, after the hardest cold has passed and before growth starts: February into early March in cool temperate areas, and often January into February in milder Mediterranean gardens. Skip days when the wood is frozen — it shatters rather than cuts and the wounds close slowly. For vigorous young trees, a light summer pruning in late June or July helps check unwanted extension growth, but never take off more than a modest amount.
Carry sharp bypass secateurs, loppers for anything over about 2 cm, and a pruning saw for branches over 5 cm. Cut close to the bud or flush with the branch collar, with no stub and no flush-cut crater into the parent wood. Skip wound paints; a clean cut on a healthy apple tree seals itself. Clean blades between trees if you have had canker in the orchard, and avoid heavy nitrogen feeding around a young tree — it pushes leafy growth at the expense of fruit buds.
Fewer, better-placed cuts beat a dozen quick ones every time. Stand back after each branch and look at the tree as a whole.
Mistakes worth avoiding
- Pruning hard "to keep the tree small" — hard winter pruning invigorates a tree. Size comes from rootstock and summer growth.
- Letting a young tree carry a full crop before its frame is built.
- Leaving narrow-angled branches because they look vigorous.
- Cutting into the branch collar or leaving long stubs that die back.
- Tidying the top and ignoring the crowded centre, where light matters most.
A calm routine for the first three winters
Before you cut anything, walk a full circle around the tree three times. Start with the obvious: dead, damaged and rubbing wood. Then ask which branch is crowding the centre, and which one has the better angle. Only then make the structural cut. Photograph the tree each winter so you can see what last year's decisions actually did — the tree will tell you plainly enough, and it is surprisingly forgiving of a single bad cut. What it will not forgive is being left alone until year five, when the thicket has already formed.
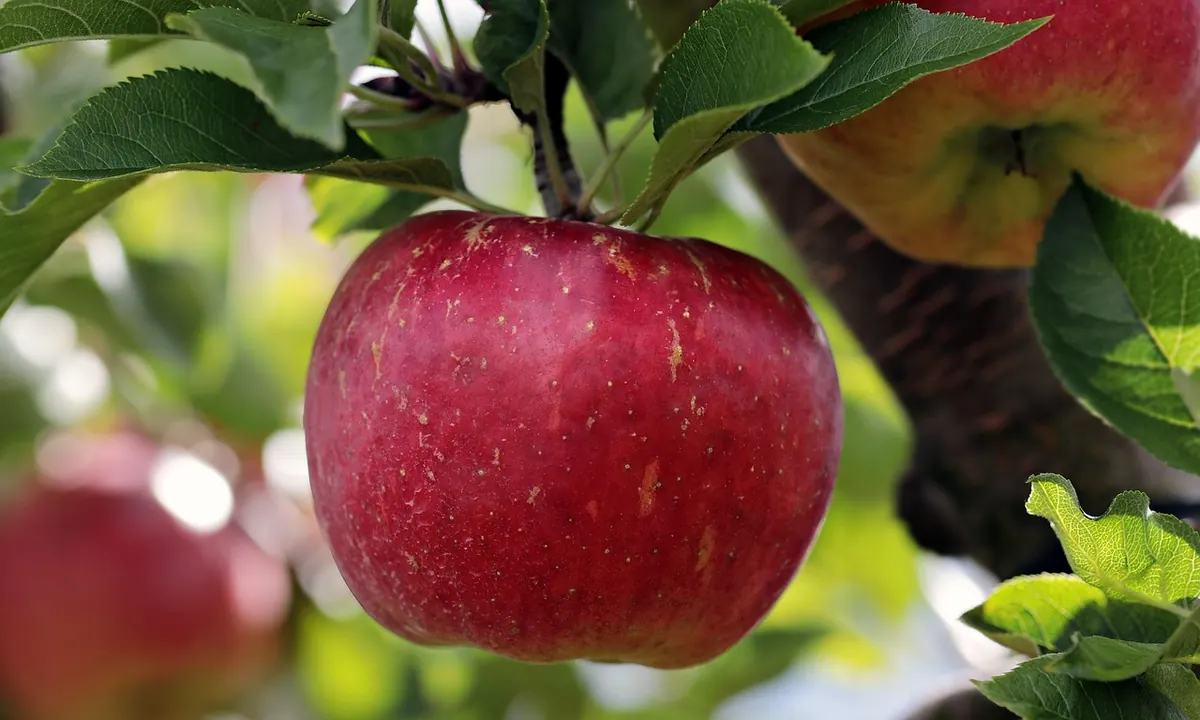
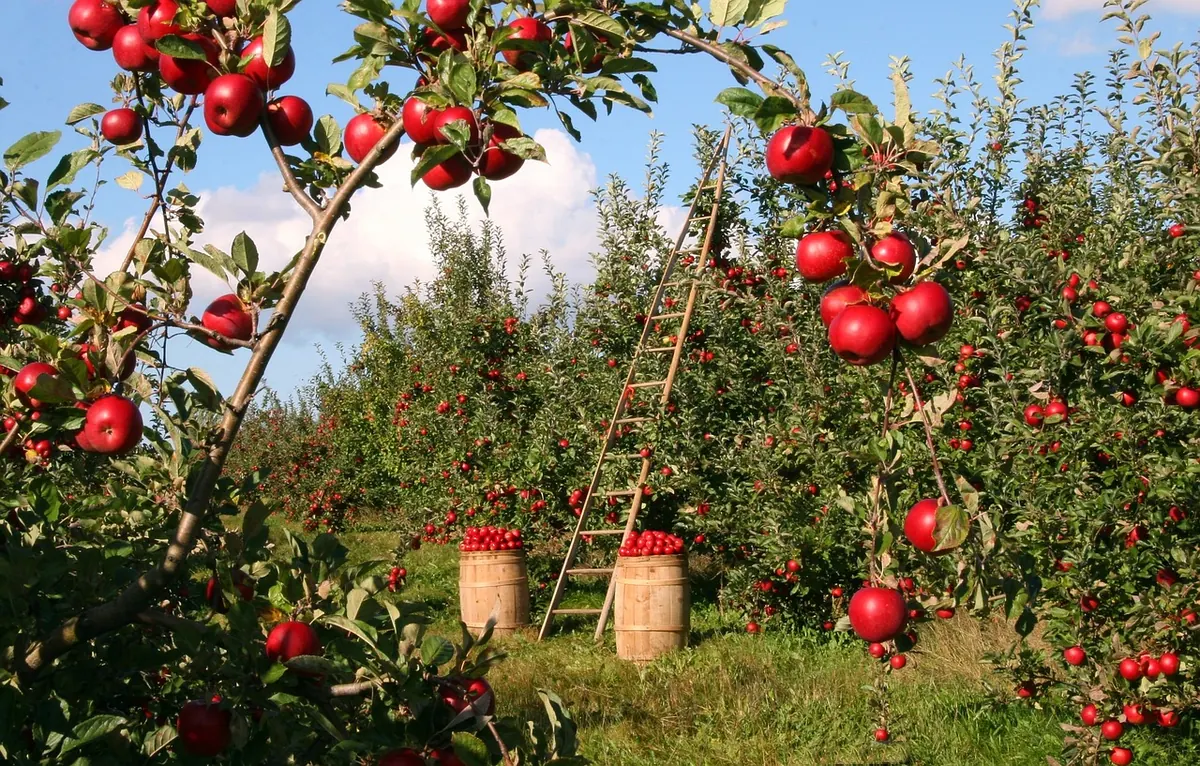
Photo: lumix2004 / Pixabay